Wiring - DIY Battery Cable , Battery Interconnect Cable:
Found how to do this on the web somewhere to save a little cash instead of buying premade cables! Also you will be able to make cables to fit your situation perfectly!
Please read our Disclaimer if you haven't already!
What you will need to make the Battery Cable:
- - Section of appropriate sized copper cable(In our case #2 awg cable)
- - Heat Shrink Tubing
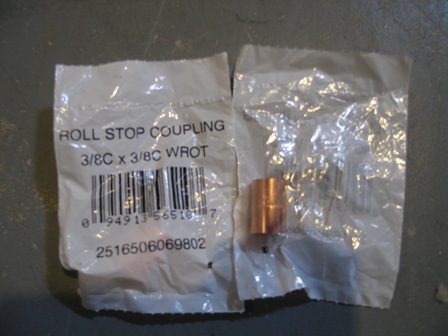
- - 2 copper pipe fittings(In our case size 3/8 inch)
- - Utility knife
- - Hammer
- - Drill with drill bit(Our drill bit will be 5/16 inch for our battery terminal size)
- - Soldering Iron, or Torch
- - Solder(We used silver solder)
Building a Battery Cable to Connect your Batteries, or use for any other application.
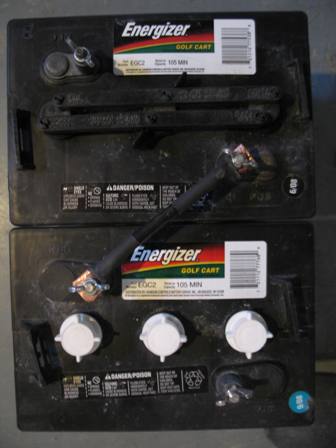
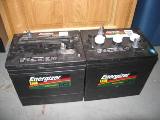
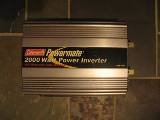
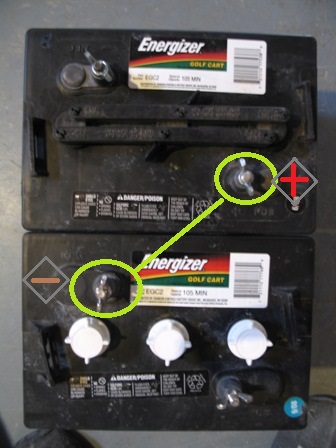
1. Begin by selecting the wire size appropriate for your application. For our connection we will be connecting a 6v 220 amp hour battery to another to connect them in series. The size of the cable will be different depending on how many batteries you would be connecting and what wattage your inverter is.
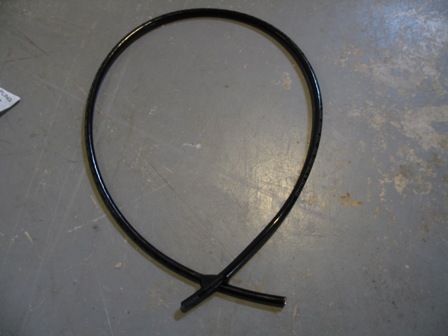
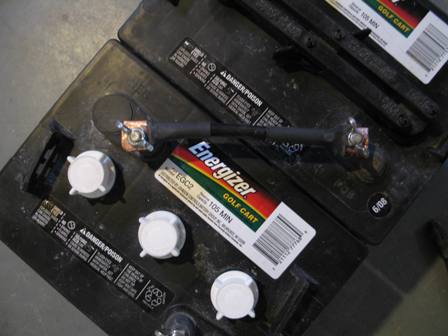
2. Now cut the cable to the desired length that you need. In our case we need the battery cable to be as short as possible(without putting stress on the connection). Below is were we will be connecting so we will need a piece this long.
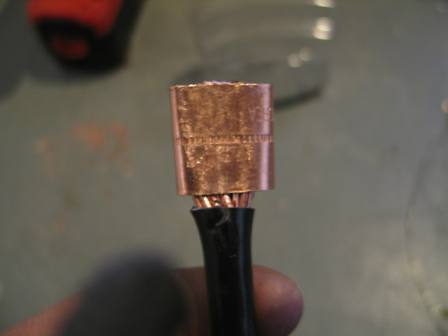
3. Cut a section of the cable sheathing off of both ends of the wire, since we are using 3/8 inch coppper fittings for our end terminals we will cut off just enough to slide these on to be flush with the ends.
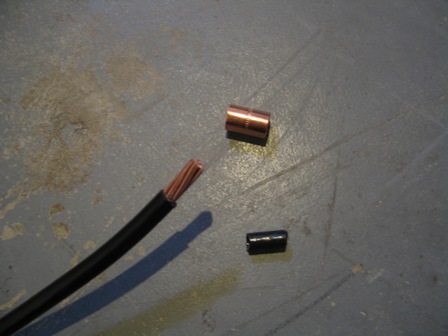
4. Slide a piece of heat shrink tubing over the cable to later on be heated and attached after the ends are soldered on.
5. Slightly flatten out the end of the cable and the copper pipe fitting. Slide the cable into the fitting.
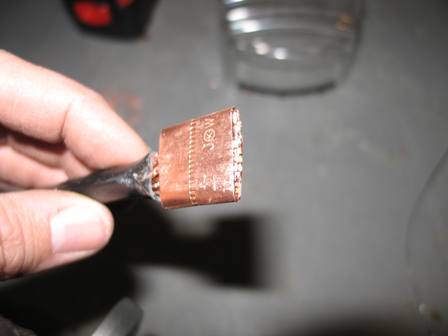
6. Smash the copper fitting flat down onto the cable.
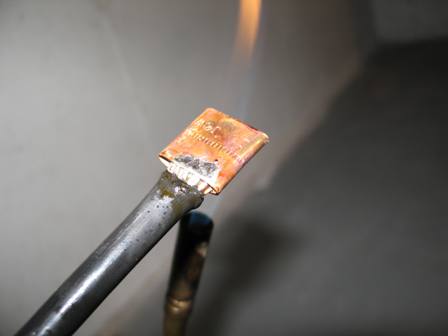
7. After the copper fitting is smashed down onto the cable solder the connector securely to the cable.
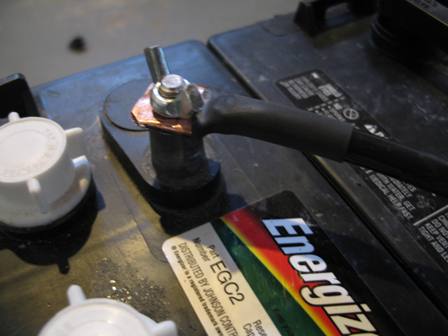
8. Drill a hole with a drill bit the desired size of the terminal fitting. (In our case 5/16 inch) !tip: I found it easier to hammer a slight indention into the center of the fitting with a screw driver to locate my hole. This made it easier to start the drilling.
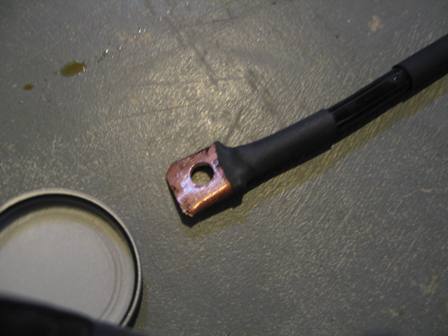
9. Slide the Heat shrink tubing over the begining edge of the fitting and heat till the tubing is shrunk to the cable end.

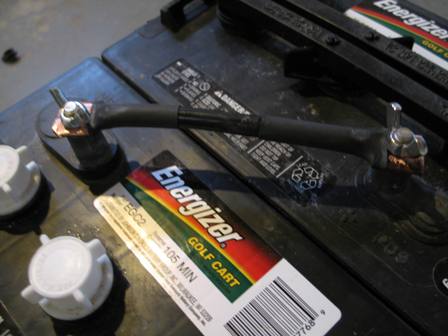
10. Repeat steps 4-5 for the other end of the cable.
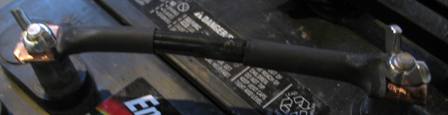
Below is the Finished Product!